The formula of Roofing sheet quantity
Two sides of pitched roof slab

Illustration of roof plan with two sides pitched
1. Dimensions of the Roofing sheet :Length×Width
2. Total length of the Roofing sheet: Dimensions÷0.855(Width of Roof is 0.855m/pc)
3. Quantity of Roofing sheet: (Length of roof÷0.855m)×2
4. Quantity of ridge tile: Length of roof÷2.4m(the length of ridge tile is 2.4m/pc)
5. Quantity of seal: (Length÷0.7m)×2(length of seal is 0.7m/pc)
6. Quantity of canopy: (length △ 0.7m) × 2 (canopy 0.7m / piece)
7. Quantity of special nails: 4pcs / m2
8. Roof angle ≤ 120 degrees2

Roof slab with four sides slope
Explanation of roof plan of simian slope
1. Estimated roof area: (a + B + C + D) × 117% (tilt and loss)
2. Total length of tile required: roof area △ 0.855 (effective width of tile is 0.855m / sheet)
3. Number of back tiles: (a) × 2+b+c × 2) △ 0.7 (effective length of back tile is 2.4m / piece)
4. Number of sealing strips: (length + width) △ 0.7 (sealing strip 0.7m / piece)
5. Number of eaves covers: (length + width) × 2 ÷ 0.7 (0.7m eaves cover / piece)
6. Quantity of special nails: 4pcs / m2
7. Area of figure a: [(B + length) × Slope length 2] △ 2
8. Area of figure B: the same as that of figure a
9. Area of C diagram: (width) × Slope length 1) △ 2
10. The area of figure D is the same as that of figure C
Pre installation engineering of color steel tile
Four sides slope

1: The blue dotted line and the red dotted line are the horizontal and vertical skeletons respectively
2: A the best distance is 50cm
3: B the best distance is 50-70cm
Two side slope

1. Choose the material of framework, wood structure and steel structure are suitable
2. The construction surface should be leveled
3. The specification of framework material: the timber specification is 45mm × Above 45mm, steel specification is 40mm × Above 40mm
4. The longitudinal spacing of the skeleton should be kept between 50cm and 70cm, and the transverse spacing must be
The multiple of 25cm should not be greater than 50cm, and screws should be used as tightly as possible to weld firmly.
Color steel tile installation project
1、 The right way to lay tile
Overlap type

Interlacing

1. Overlapping type (suitable for roof with length ≤ 15m)
2. Staggered type (suitable for roof with length ≥ 15m)
Proper use of special nails

Overlap type

Interlacing
1. The special nail must be hit in the middle of the tile bone to have waterproof effect
2. The fixation interval of special nails is 50cm ~ 100cm (4 pieces / m2 is the best)


3. The special nail should be driven from the lower end of the tile to the roof in order to be beautiful, sealed and neat
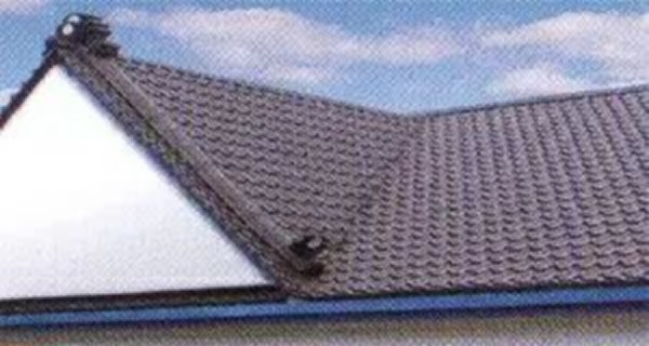
Installation of sealing strip ridge tile eaves cover


4. The lower end of the tile, that is, the eaves, is directly installed and fixed with screws


5. At the junction of the back tile, the control joint shall be trimmed with scissors, and then overlapped and sealed with glass glue.

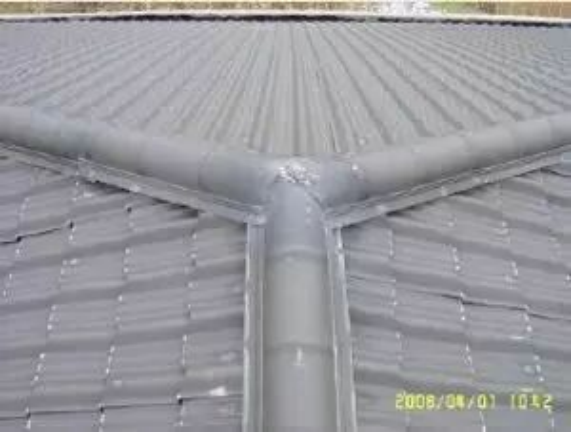
4、 Waterproof treatment of protruding part
First of all, make a V-shaped material. Different materials and specifications can be selected, depending on the actual situation. Make the water connection, install it at the bottom, and then lay colored steel tiles on it.
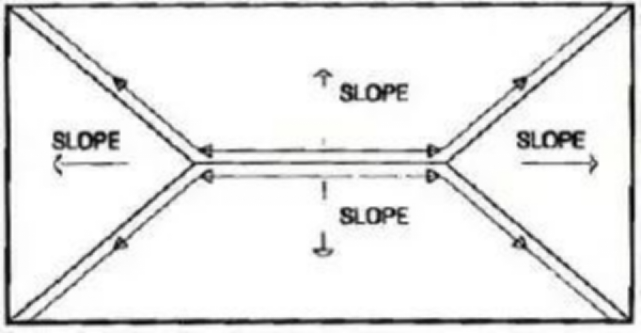
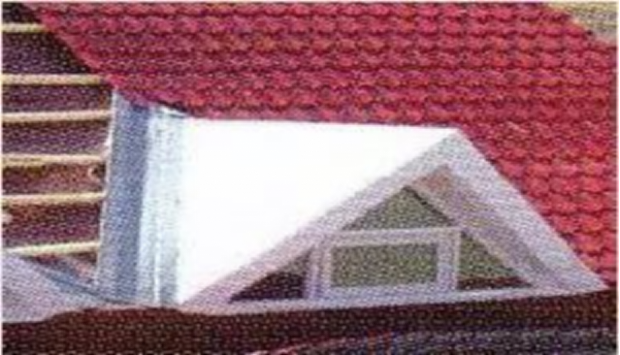
5、 Installation of inclined plane connection
It refers to the construction of installing water connection treatment at the bottom of two roof tiles after they are cut according to the angle and length. First, install water connection material (i.e. gutter) under the tiles, and then use waterproof adhesive or cement for finishing treatment.
Safety precautions
Wear necessary safety equipment (such as gloves, helmet, safety belt, etc.)
Professional personnel with certificate required for installation workers
The framework must be firmly installed
When the installation needs to walk on the tile, step on the middle part of the tile as far as possible to avoid stepping on the edge of the tile
Caution should be taken when installing in bad weather





 EXPOGROUP Supports The"GO GREEN"